Halloween Kitchen Island Decor Ideas for a Festive Centerpiece
Stacy and Home shares these Halloween kitchen island decor ideas to help you turn your kitchen island into a festive centerpiece for the season. From pumpkins and candles to seasonal trays, spooky artwork, and warm autumn colors, you can create a Halloween display that feels fun without getting in the way of everyday kitchen use.
1. Create a Simple Halloween Kitchen Island Foundation
Start With a Halloween Color Palette
Choose two or three Halloween colors to create a coordinated island display. Black, orange, cream, white, dark green, and deep burgundy can all work beautifully together.
Repeat these colors through pumpkins, napkins, candles, trays, and small decorative pieces instead of using too many different shades.
Add Mini Pumpkins
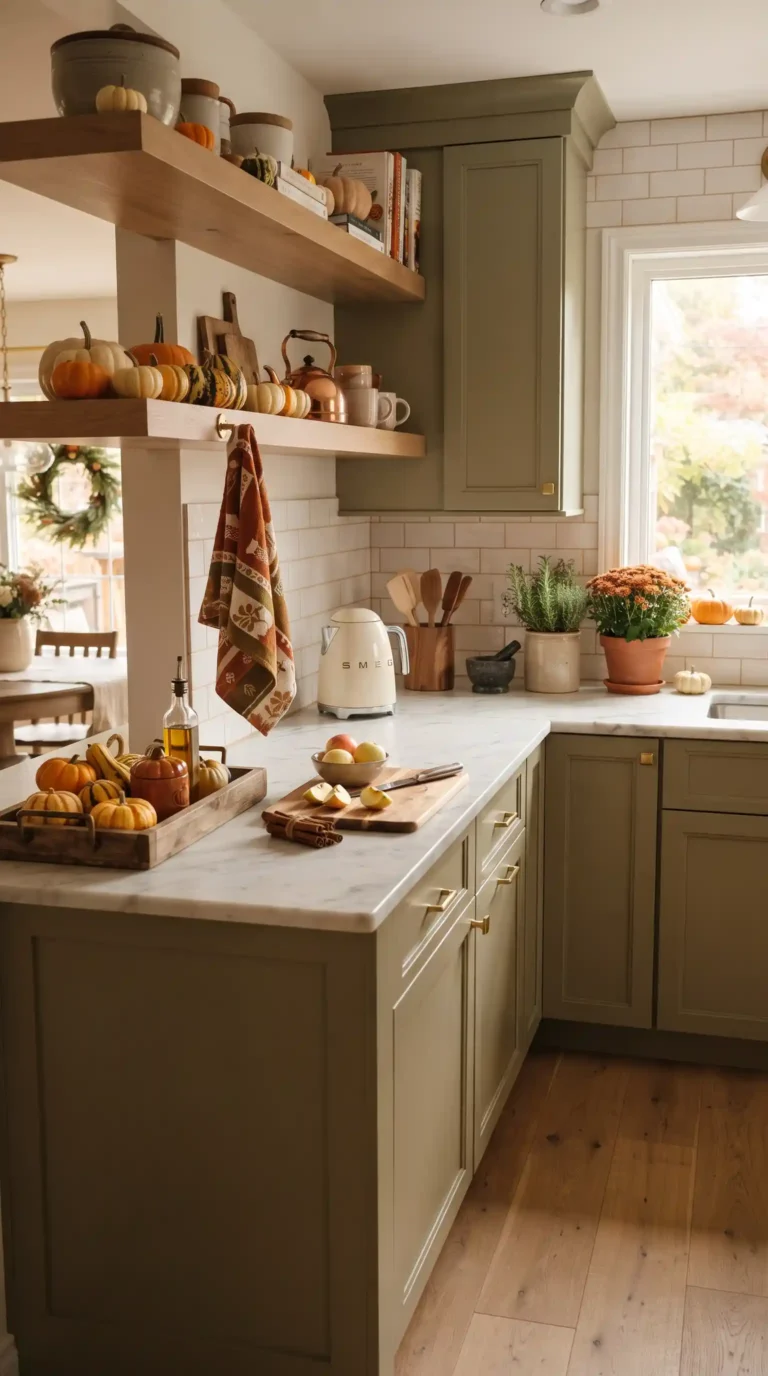
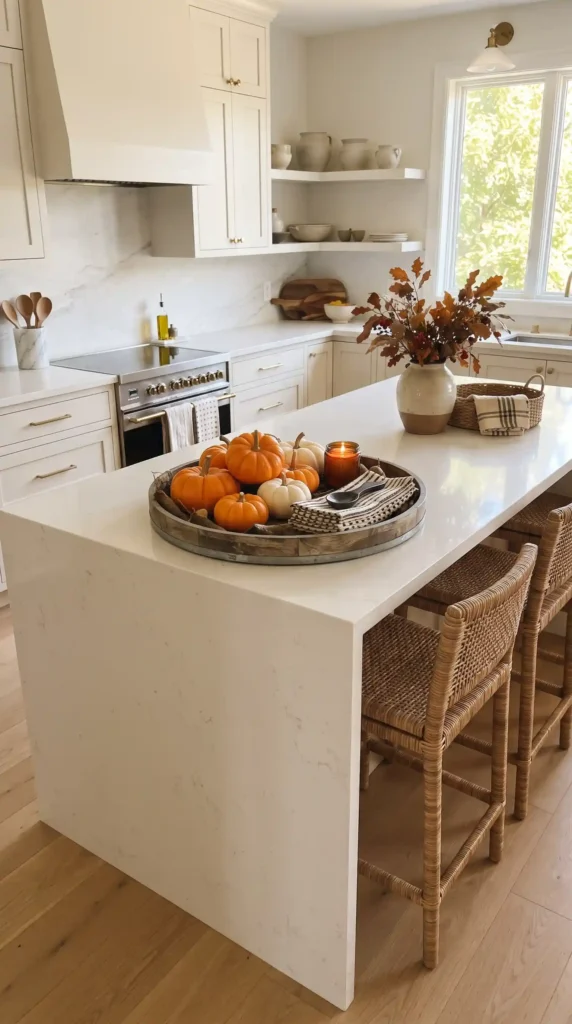
Mini pumpkins are an easy way to bring Halloween to the kitchen island. Arrange several pumpkins in a bowl, tray, or shallow basket to create a simple centerpiece.
Mix orange, white, cream, and darker pumpkins for a more layered seasonal look.
Use a Decorative Tray
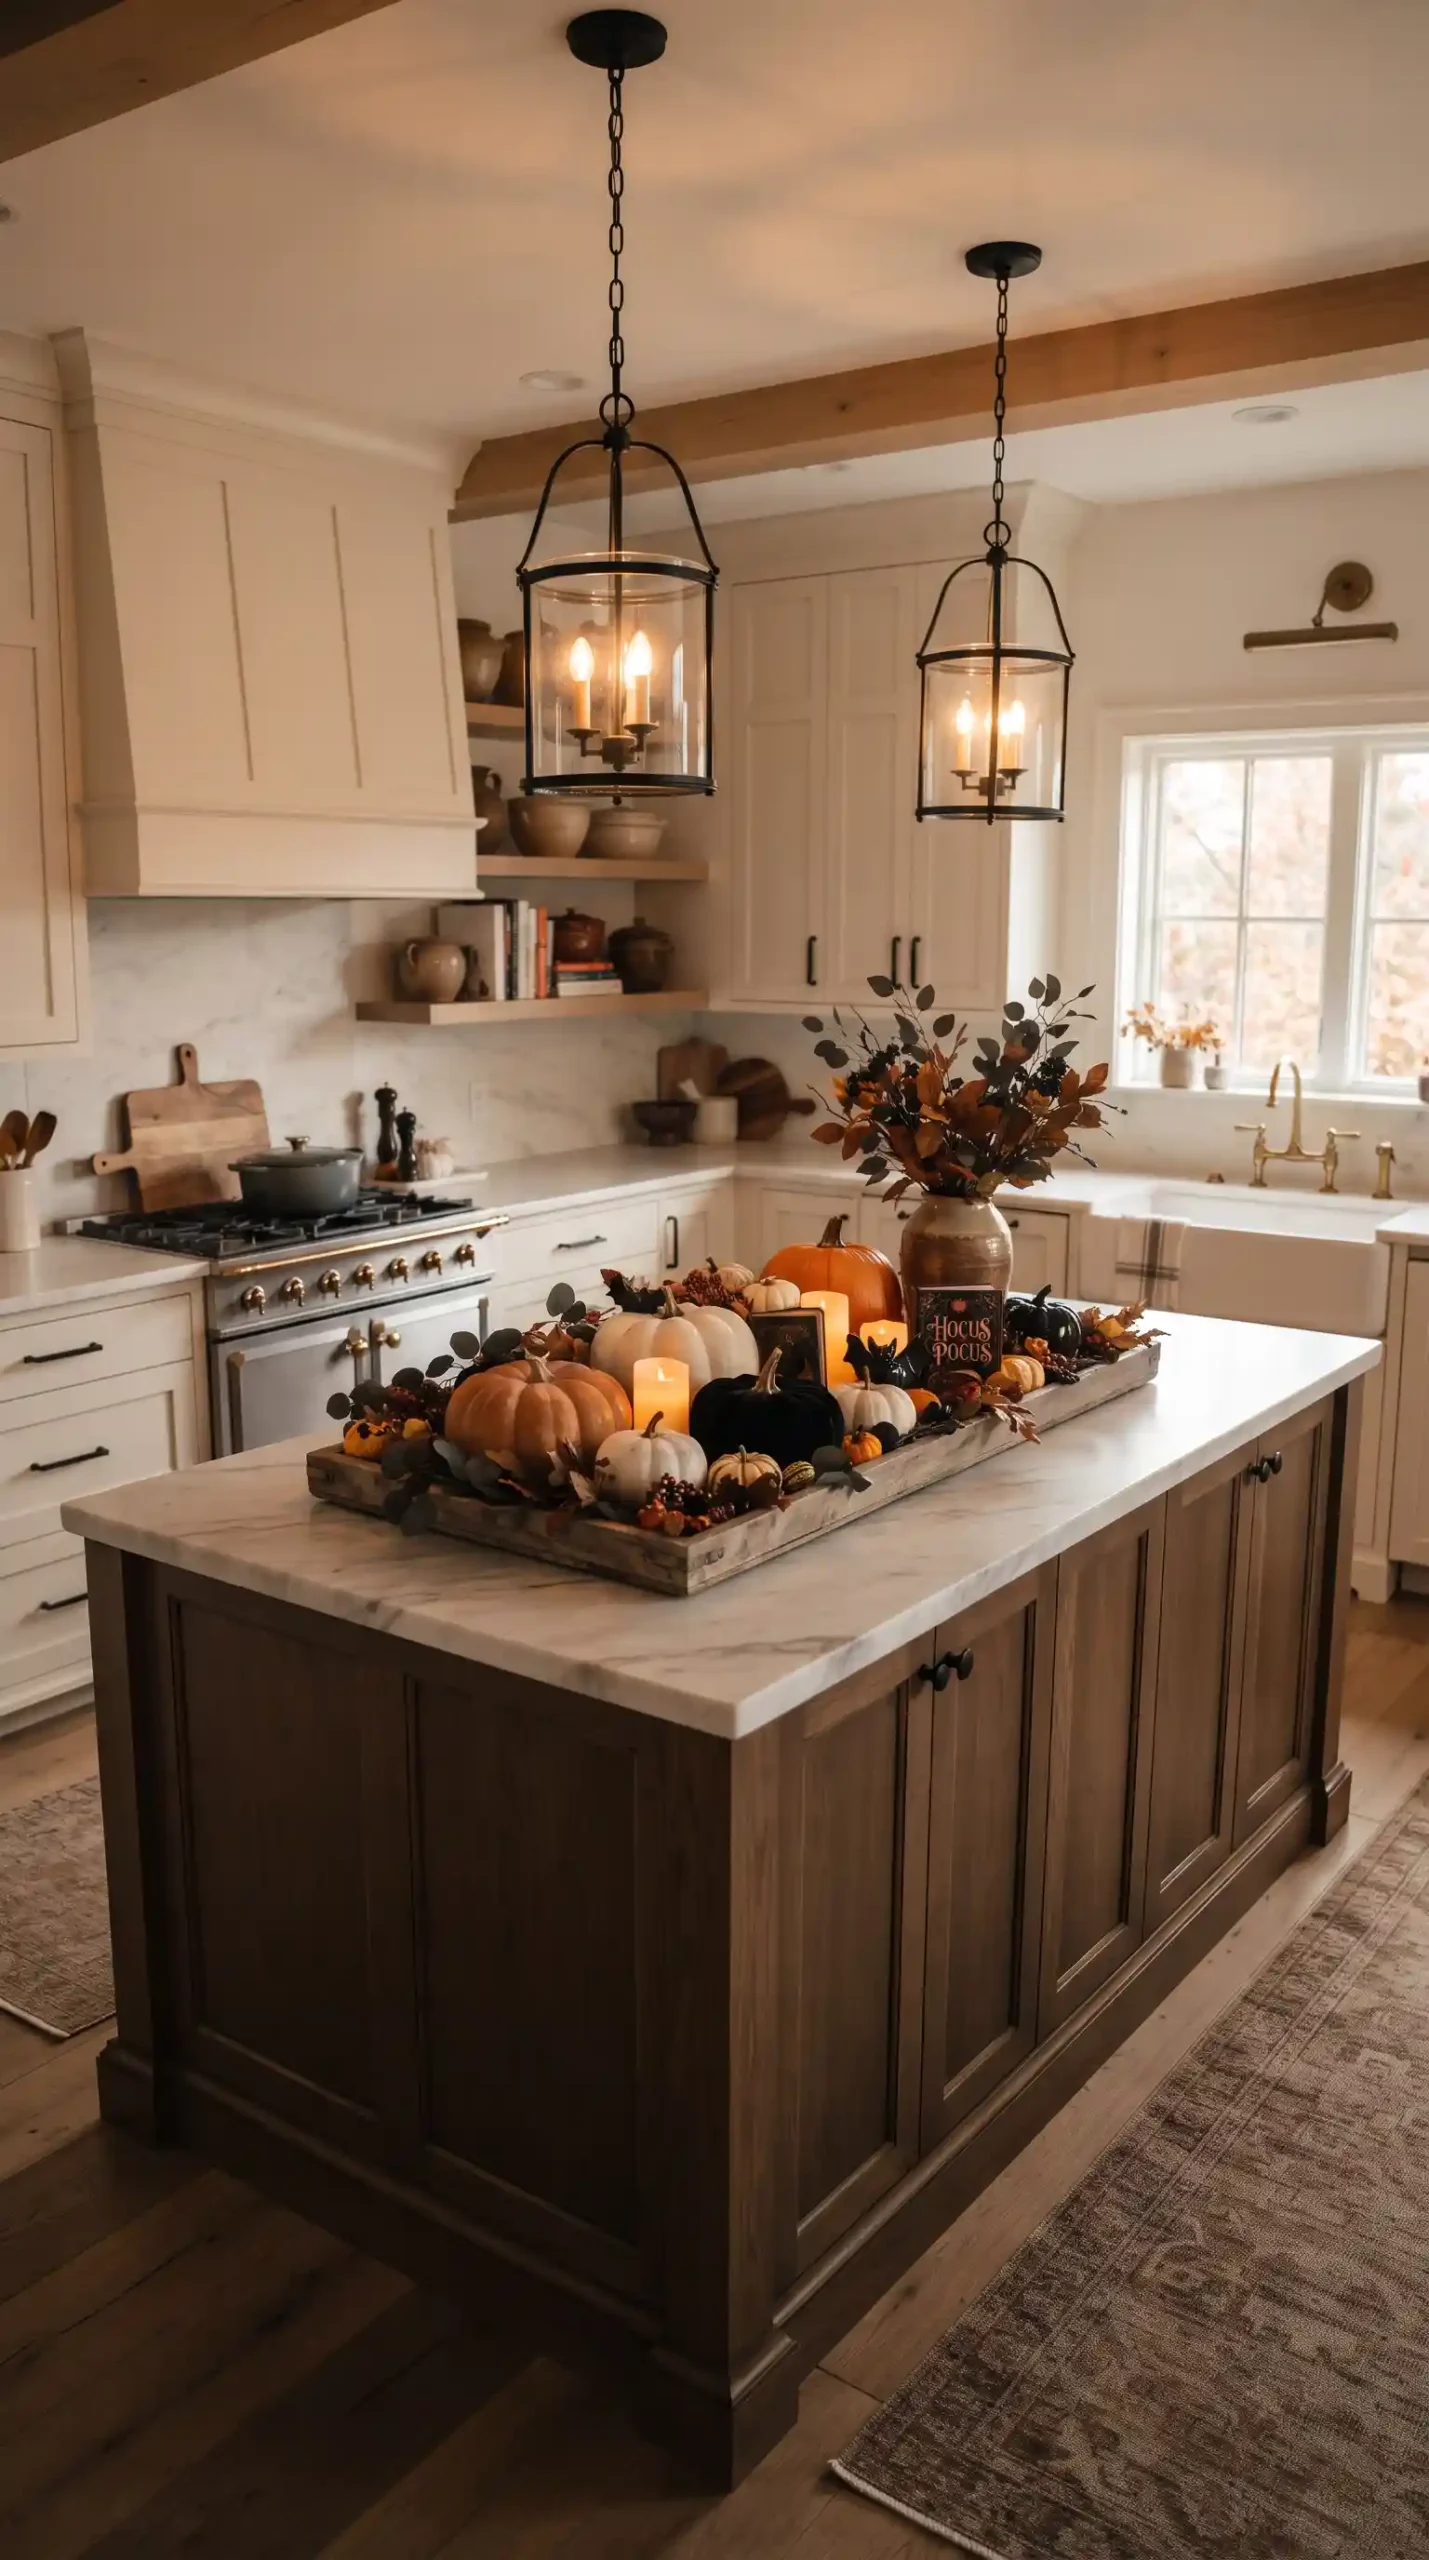
A tray can keep several Halloween decorations organized in one place. Add pumpkins, candles, a small vase, and seasonal greenery to create a complete centerpiece.
A tray also makes it easier to move the decorations when you need the island for cooking or serving.
2. Build a Festive Halloween Centerpiece

Create a Pumpkin Centerpiece
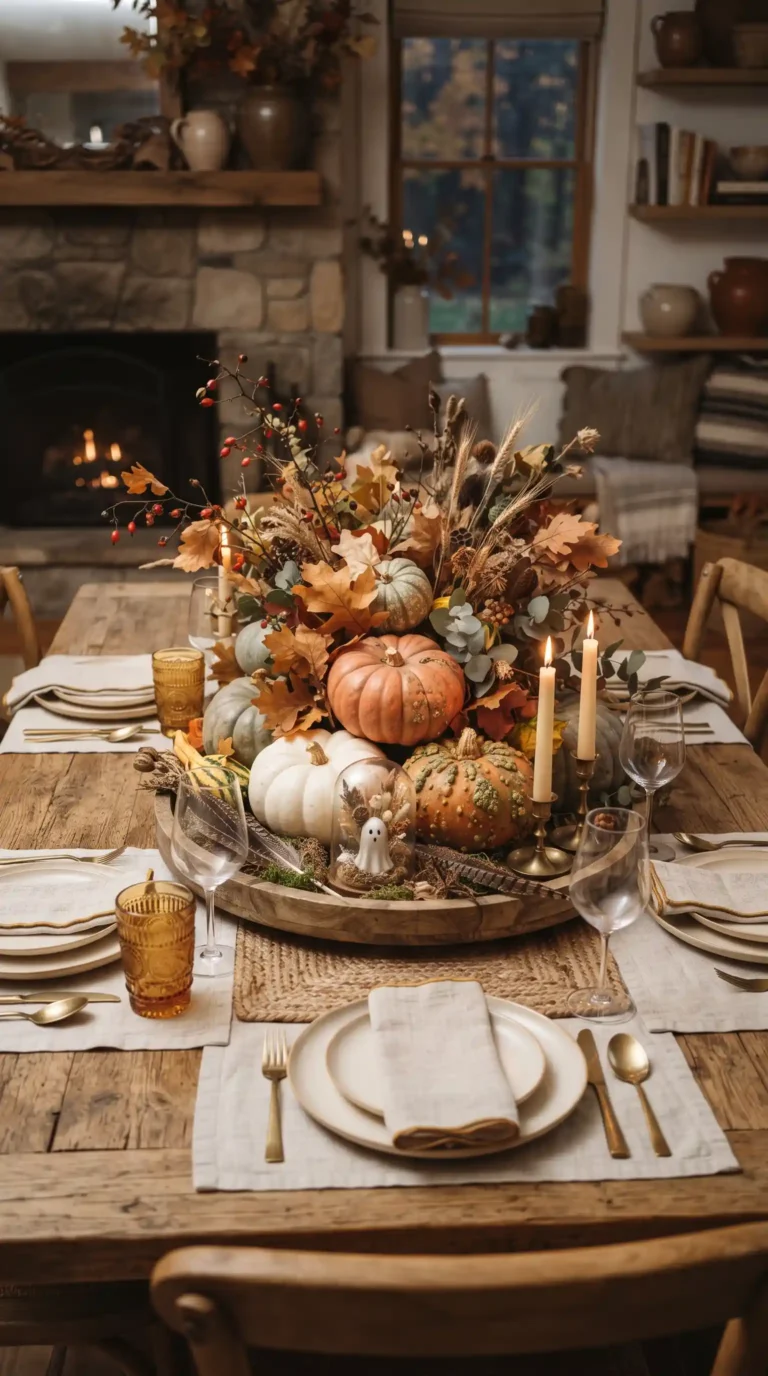
Make pumpkins the main feature of the kitchen island. Use pumpkins in different sizes and place them together in the center of the island.
Add a few dried branches or autumn leaves around them for texture while keeping the arrangement low enough to preserve the workspace.
Add Halloween Candles
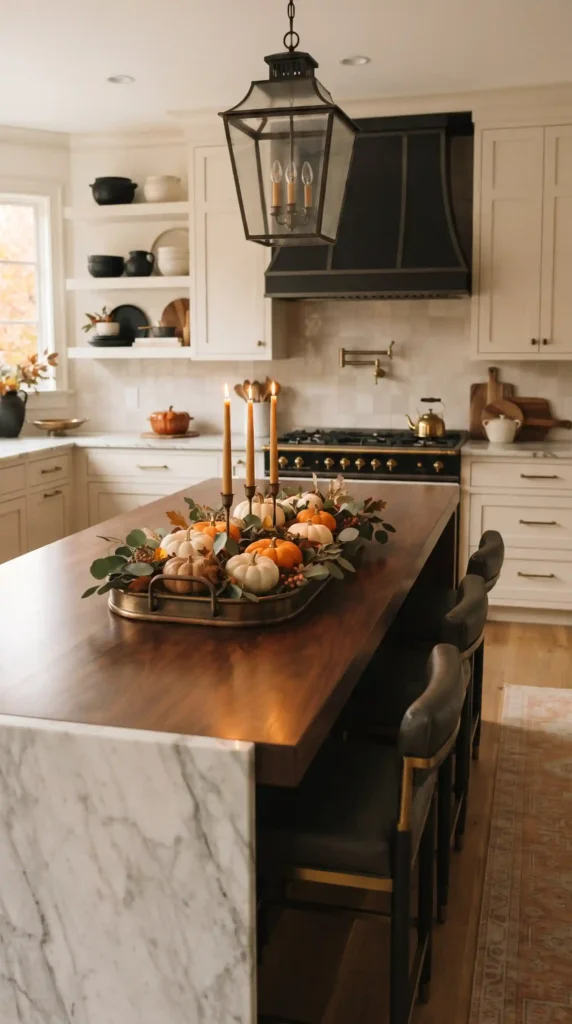
Candles can give the kitchen island a warm seasonal glow. Place candles in black, cream, orange, or metallic holders and arrange them around pumpkins or greenery.
For a safer everyday option, especially around children, use flameless LED candles instead of open flames.
Display a Halloween Floral Arrangement
A seasonal floral arrangement can make the island feel elegant while still being festive. Use dark flowers, dried grasses, autumn branches, or muted orange foliage.
Place the arrangement in a simple vase and keep its height low enough that it does not interfere with conversations across the island.
3. Add Spooky Kitchen Island Details
Use Small Halloween Figurines
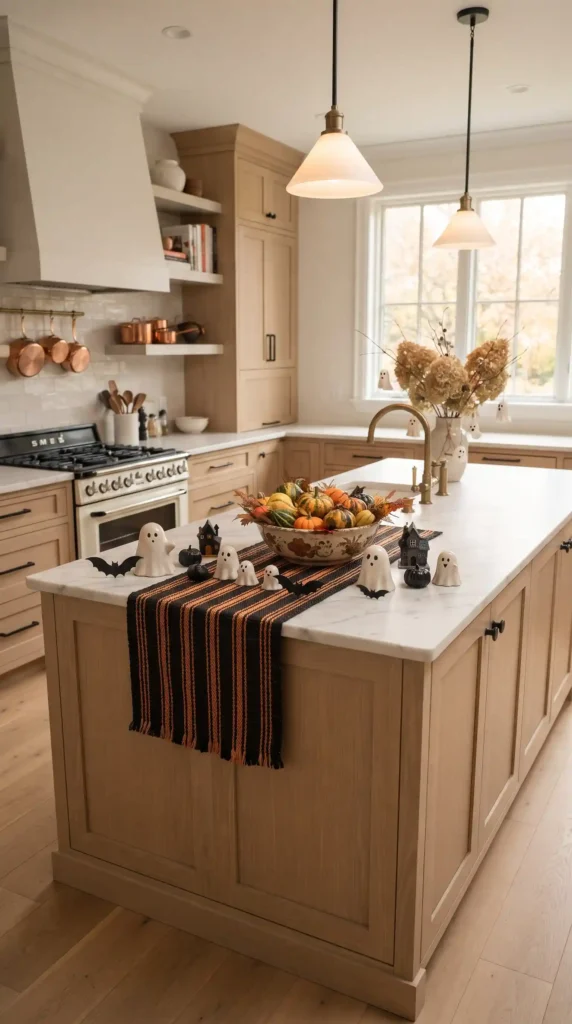
Small bats, ghosts, pumpkins, black cats, or other seasonal figures can add playful details to the centerpiece. Place just a few pieces around the main display.
Using a limited number of figurines keeps the island stylish instead of making it feel overcrowded.
Add a Halloween-Themed Runner
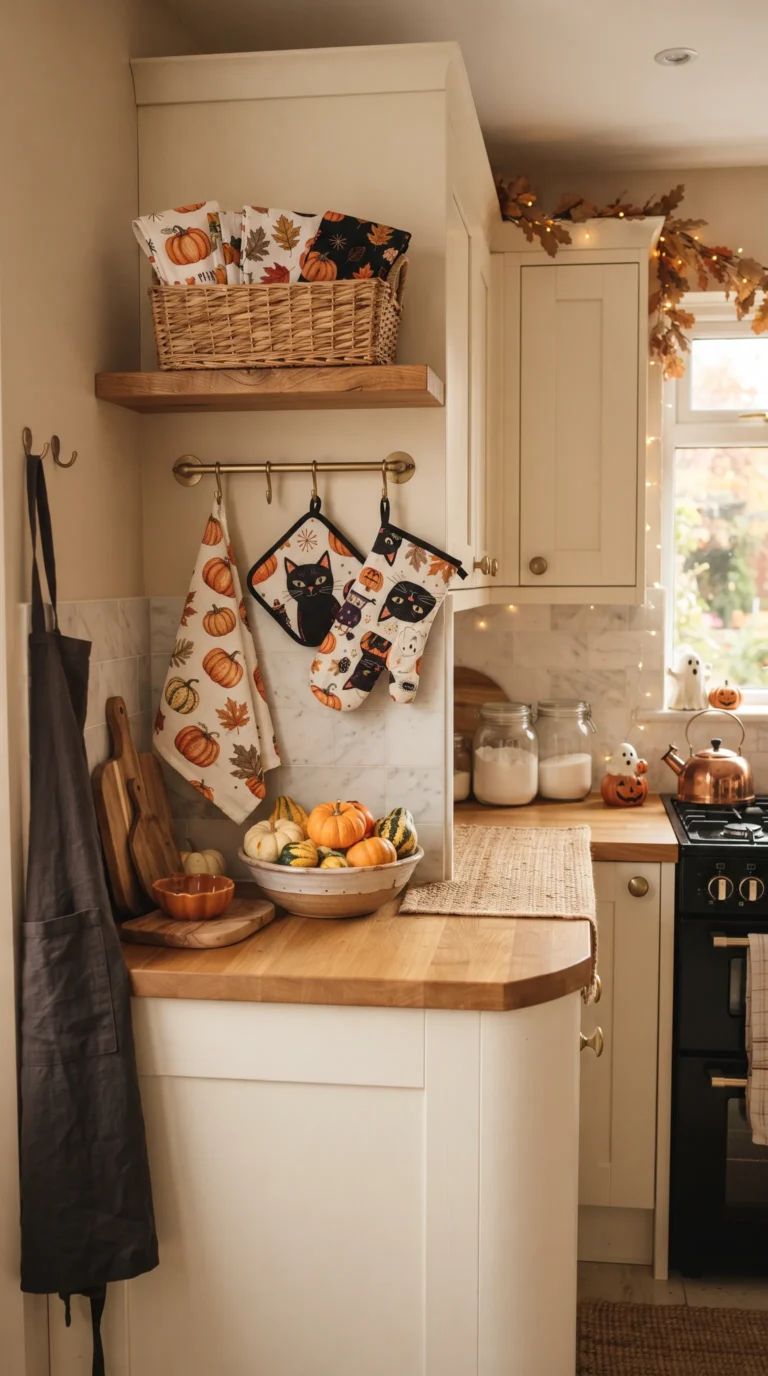
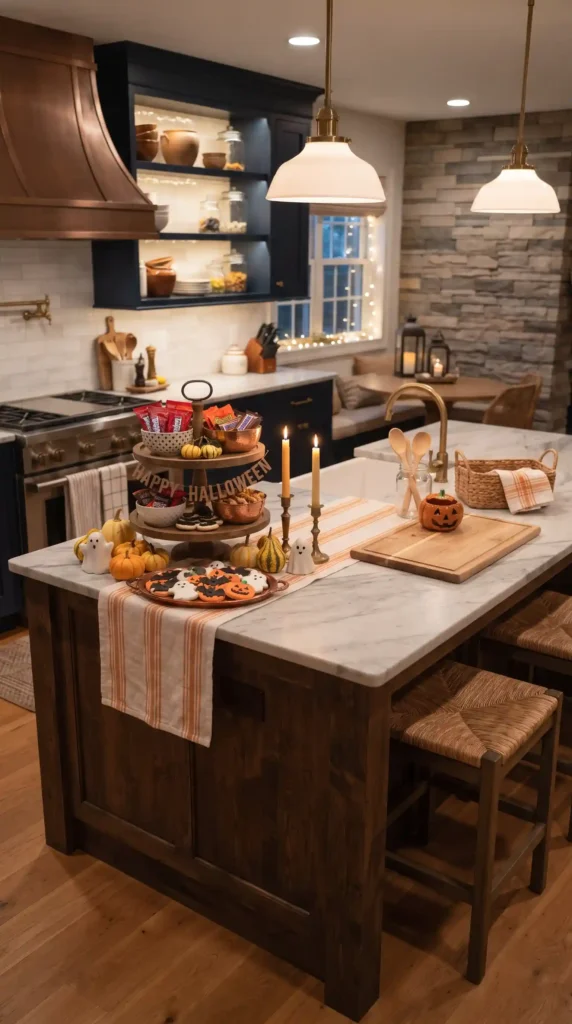
A seasonal table runner can create a strong foundation for your island display. Choose a subtle black, orange, cream, or autumn-inspired pattern.
Keep the runner simple if you already have several decorations so the overall arrangement does not become too busy.
Style a Halloween Serving Bowl
A decorative bowl can work as both a useful kitchen item and a seasonal accent. Fill it with mini pumpkins, wrapped treats, pinecones, or artificial autumn leaves.
Choose a bowl that complements the island countertop and other kitchen finishes.
4. Mix Halloween Decor With Cozy Autumn Style
Add Natural Autumn Elements
Natural textures can make Halloween decorations feel warmer and more sophisticated. Add dried leaves, branches, pinecones, wheat stems, or small wooden accents around the island centerpiece.
These details can also help the display transition naturally from Halloween into the rest of the fall season.
Use Black and Wood Accents
Black decorations paired with natural wood can create a stylish Halloween look. Try black candle holders, dark pumpkins, wooden trays, and warm wood serving pieces.
The combination works especially well in kitchens with neutral cabinets and natural materials.
Create a Cozy Coffee or Hot Drink Station
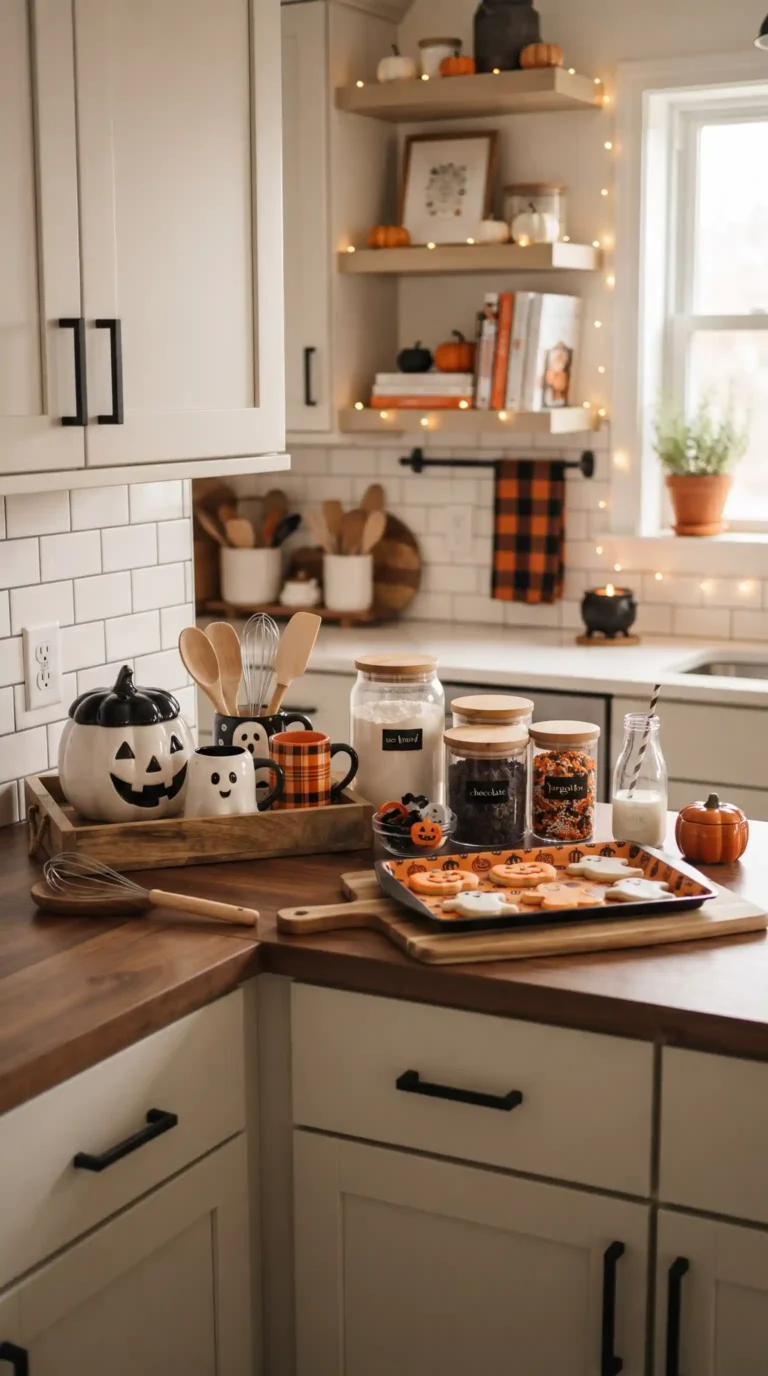
Turn one side of the island into a seasonal drink station. Add mugs, a small tray, a coffee or tea container, and a few Halloween accents such as mini pumpkins or a small seasonal sign.
Keep the everyday items easy to reach so the display remains practical as well as decorative.
5. Make the Halloween Kitchen Island Fun and Functional
Add a Halloween Snack Display
Use one section of the island for seasonal treats. Place cookies, wrapped candy, cupcakes, or other snacks in attractive bowls and serving dishes.
A small Halloween sign or a few pumpkins can make the snack area feel festive without taking over the countertop.
Create a Family-Friendly Centerpiece
If children regularly use the kitchen, choose decorations that are sturdy and easy to move. Use lightweight pumpkins, fabric accents, LED candles, and simple seasonal objects.
Keep sharp, fragile, or breakable decorations away from busy areas of the island.
Keep the Cooking Space Clear
The kitchen island still needs to work as a preparation and serving area. Keep the main centerpiece compact and leave enough open counter space for everyday tasks.
A tray-based display is especially useful because you can quickly move the entire arrangement when you need more workspace.
6. Finish Your Halloween Kitchen Island With Balanced Details

Choose the Right Centerpiece Size
The centerpiece should match the size of your kitchen island. A large island can handle a wider arrangement, while a smaller island usually looks better with one compact tray or bowl.
Leave enough space around the display so the countertop still feels open.
Repeat Halloween Details Around the Kitchen
Connect the island display with the rest of your kitchen by repeating a few elements. Use similar pumpkins, colors, greenery, or candle holders on nearby shelves or counters.
This creates a cohesive Halloween kitchen without requiring decorations on every surface.
Make Seasonal Decor Easy to Remove
Choose decorations that can be gathered and stored easily after Halloween. Trays, bowls, reusable pumpkins, fabric runners, and artificial greenery can all be packed away for next year.
Keeping seasonal pieces together also makes decorating faster when Halloween returns.
FAQs
How do I decorate my kitchen island for Halloween?
Start with a tray or runner, then add pumpkins, candles, seasonal greenery, a bowl, or a few small Halloween decorations. Keep the arrangement compact so the island remains useful.
What looks good as a Halloween kitchen island centerpiece?
A pumpkin arrangement, decorative tray, seasonal floral display, or bowl filled with mini pumpkins can all work well. Choose a centerpiece that fits the size of your island.
How can I decorate a kitchen island for Halloween without making it cluttered?
Use one main centerpiece and a limited color palette. Group smaller decorations together on a tray instead of spreading them across the entire countertop.
What colors work well for Halloween kitchen island decor?
Black and orange are classic choices, but cream, white, deep green, burgundy, brown, and natural wood can create a softer and more sophisticated seasonal look.
How do I make Halloween kitchen island decor family-friendly?
Use sturdy decorations, flameless candles, lightweight pumpkins, and soft seasonal accessories. Keep fragile or sharp items away from areas where children are likely to reach.
Final Thoughts
The best Halloween kitchen island decor ideas turn the center of the kitchen into a festive seasonal focal point without sacrificing function. Pumpkins, trays, candles, autumn greenery, serving bowls, and small spooky accents can create a beautiful centerpiece with only a few changes.
Start with one main display and build around it using colors and materials that already work in your kitchen. Keep enough open counter space for cooking and serving, and your Halloween island can feel festive, stylish, and practical throughout the season.